How a Portrait Exposure Is Set and Kept Steady From Shot to Shot
A look behind the scenes at how we read histograms and waveforms, fix exposure and hold portrait lighting steady across a whole session, from the first test frame to the last.
Megan Hollis · · 5 min read
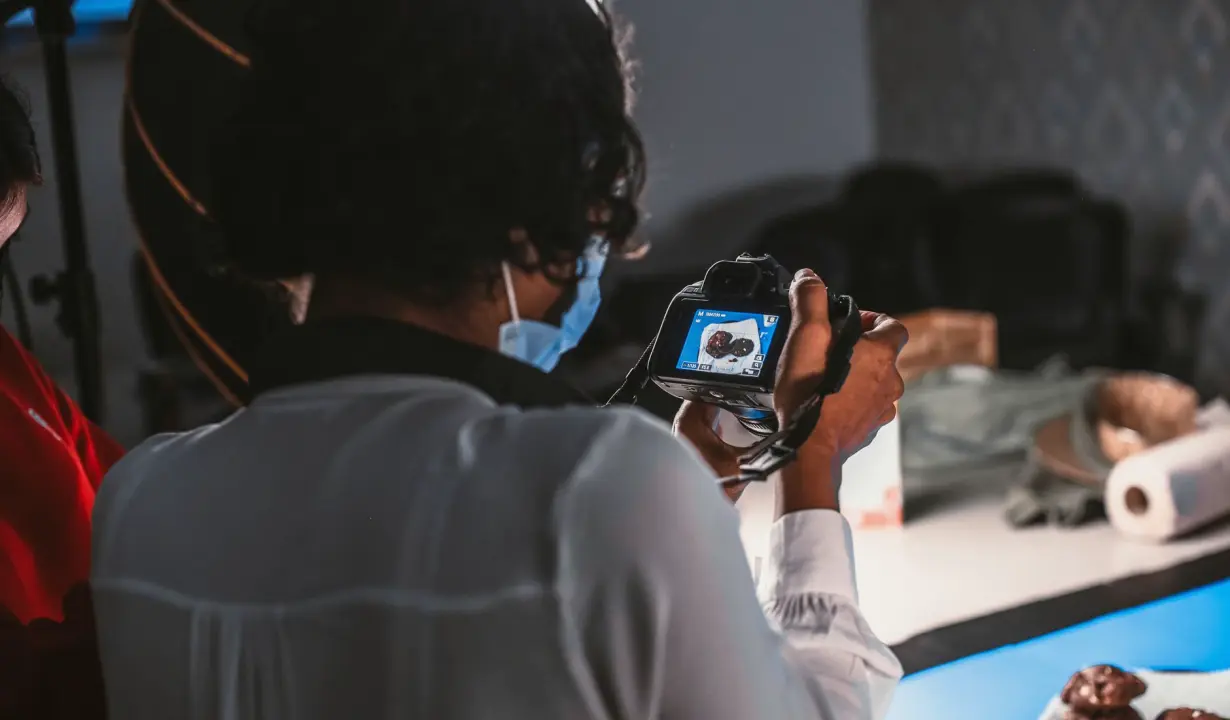
Starting with the light, not the camera
Before anyone touches a camera setting, I walk the room with the learners and look at the light itself. Where does the key come from, how far is it from the subject, and what is the window doing behind us? In these early autumn weeks the daylight shifts quickly in the late afternoon, so a studio that looked balanced at noon can change character by four o'clock. We note it on paper first.
Only then do we set a baseline. One person sits in as the subject, wearing something mid-toned, and we fix the key light at a marked distance with tape on the floor. That tape matters more than most people expect. It turns a lighting setup from a feeling into a position that can be repeated tomorrow, or by a colleague who was not there today.
- Walk the room and note every light source
- Mark key light and subject positions on the floor
- Use a mid-toned stand-in subject for the baseline
Reading the histogram as a working tool
The histogram is the first thing we teach because it answers a plain question: is the information in the image, or has it been lost? We shoot a test frame, open the histogram and look at where the data sits. A pile pressed against the right edge means highlights are clipping, and no amount of editing brings back what the sensor never recorded.
Learners often want a perfect-looking curve, and I tell them there is no such thing. A portrait against a pale wall will push the graph right, while a dark backdrop pulls it left. What we look for is room at both ends and a shape that makes sense for the scene. We shoot several frames, nudge exposure by a third of a stop, and watch how the graph moves.
Waveforms and why skin tone sits where it does
For video work and for checking skin, the waveform is more useful than the histogram because it shows brightness by position across the frame. We place the subject's face in the middle of the picture and read where the skin sits on the scale. Keeping faces in a consistent band from take to take is what makes a set of portraits feel like one session.
I show learners how to compare two subjects with different complexions under the same light. The waveform makes the difference visible without guesswork, and it explains why one person looks fine and another looks flat at identical settings. We adjust by small amounts and record the value that suits each person, so the numbers go into the handover notes rather than staying in someone's head.
- Place the face near the centre of the frame
- Record the skin band for each subject
- Adjust in small steps and write the value down
Locking exposure so it does not wander
Once a good exposure is found, the next job is stopping it from drifting. Auto modes are the usual culprit: the camera reacts to a bright jacket or a passing reflection and quietly changes the result. We switch to manual, fix aperture, shutter and sensitivity, and use a fixed white balance so that brightness and colour are not both moving at once.
Then we run a short drift test. The subject shifts position, turns slightly, lifts a hand, and we shoot a dozen frames over a few minutes. If the histogram or waveform stays close to the baseline, the setup holds. If it creeps, we look for the cause: a light on a dimmer, a window cloud, or a reflective surface we missed at the start.
Keeping portrait lighting predictable on the day
On a real shoot the lighting rarely stays still. People move closer to the key, assistants carry reflectors, and batteries fade. We teach a short routine for this: a quick check frame at the start of every new subject, and another after any change to the room. It takes under a minute and catches problems while they are still cheap to fix.
A small grey card held beside the face gives a reference to compare against, and we keep a printed copy of the baseline frame nearby. When something looks different, the team can lay the new check next to the original and decide whether it is a real change or just a trick of tired eyes. That habit is calm, quick and rarely argued over.
- Shoot a check frame for every new subject
- Re-check after any change to lights or room
- Keep the baseline frame close for comparison
Writing it down so the next session starts ahead
The last step of the work is the least glamorous and probably the most valuable. We write the exposure settings, light positions, distances and skin values into a single page that someone else could follow. Learners are encouraged to include a photograph of the lighting layout, taken from above if the room allows it.
When a studio returns to those notes a month later, the setup comes back in minutes rather than an hour of trial and error. That repeatability is what we mean by calm production days. The camera is only part of it: the real result is a process that does not depend on one person remembering how the room felt on a particular afternoon.
Consistent exposure is less about clever settings and more about habits: read the histogram honestly, trust the waveform for skin, lock what should not move, and check often. Mark the floor, write the numbers down and keep the baseline frame within reach. A portrait session run this way is quieter to work in, easier to hand over, and far less likely to surprise anyone when the images reach the screen.
You may also like
Focus Peaking Explained: What the Coloured Edges Really Tell You
Focus peaking paints coloured edges on whatever is sharp. Daniel Brandt explains in plain words what it measures, where it misleads, and how to pair it with magnification.
Histogram or Waveform: Which Should You Trust for Portrait Exposure?
A side-by-side look at reading exposure with a histogram and with a waveform, where each one helps in a portrait studio, and which one we recommend learners rely on first.
Get in touch
- Call us
- (402) 734-1110
- hello@starvixel.com