A Practical Routine for Checking Focus Before and During a Shoot
A step-by-step method for confirming sharp focus with peaking, magnification and a simple test target, so soft frames are caught at the camera rather than in the edit.
Megan Hollis · · 5 min read
Why focus deserves its own check
Most soft footage is not caused by a faulty lens. It comes from a focus decision that looked fine on a small screen and was never confirmed. A camera's rear display is usually too small and too bright to judge sharpness on, particularly under studio lights or in a hall with mixed lighting. By the time the file opens on a large monitor, the shoot is over and the subject has gone home.
The routine below takes about three minutes per camera. It uses three tools: focus peaking, magnification and a printed test target. None of them is expensive, and all of them work on the cameras you already own. The aim is repeatability: the same check, in the same order, every time, whoever is operating the camera.
Set up focus peaking so it helps rather than misleads
Peaking draws a coloured outline on edges the camera considers sharp. It is quick, but it is only a guide. Start by choosing a peaking colour that contrasts with your subject: red on a green backdrop disappears less than white on a pale wall. Then set the sensitivity. Low sensitivity marks only the crispest edges, which is what you want for critical work such as portraits at wide apertures.
High sensitivity lights up almost everything and gives a false sense of security. Test your setting by deliberately defocusing the lens and watching the outline fade, then bringing it back. If the outline barely changes, the sensitivity is too high. Write the chosen level in your camera notes so a second operator can match it without guessing.
- Pick a peaking colour that stands out from the background
- Use the lowest sensitivity that still shows a clear change
- Defocus on purpose once to confirm the outline responds
Confirm with magnification, not peaking alone
Peaking tells you roughly where focus sits. Magnification tells you whether it is right. Punch in to the highest level your camera offers and look at fine detail: an eyelash, the weave of a collar, the printed text on a prop. For a portrait, the nearer eye is the usual target, and it should look crisp at the zoomed view before you return to the full frame.
Remember that magnified view is slow to update on some cameras and can shift your framing when you exit it. Check focus, then confirm the composition has not moved. If the subject will move toward or away from the lens, repeat the check at both ends of that range, not only at the starting mark.
Use a test target to remove the guesswork
A printed target with fine lines or small text gives you something objective to judge. Place it at the same distance as your subject, square to the lens, and in the same light. Shoot a frame, then review it magnified on a larger monitor if one is on set. You are looking for the finest lines staying separate and clean, with no mushy grey bands where they merge.
The target also reveals a problem peaking cannot: back focus or front focus, where the camera consistently lands just behind or ahead of the mark. Tilt the target slightly, so a ruler or numbered scale recedes from the lens, and see which number is sharpest. If it is not the one you aimed at, note the offset and check the lens-adjustment options in your camera menu.
- Keep the target flat, square to the lens and evenly lit
- Shoot a frame and review it on the largest screen available
- Note any consistent offset between the aim point and the sharp point
Keep checking while the shoot is running
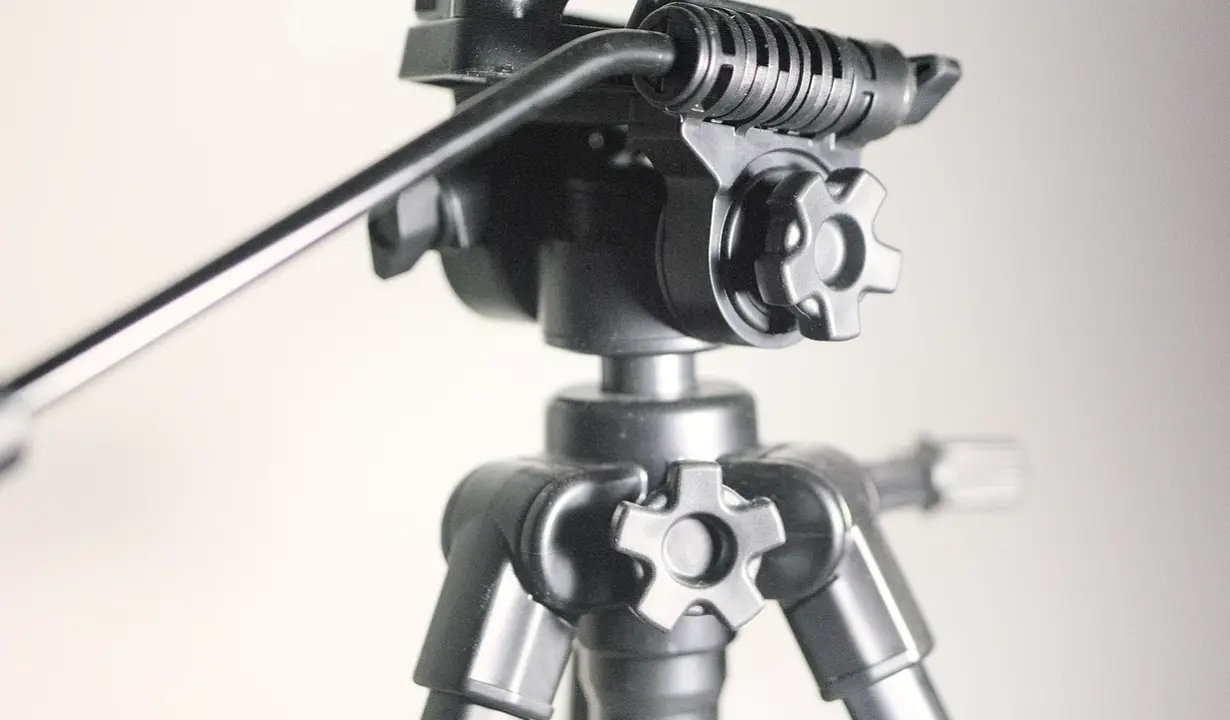
Focus can drift during a long session. Temperature changes, a bumped tripod or a lens that creeps on a tilted tripod head can all shift the sharp point. Build short checks into natural pauses: between setups, after a change of subject, and whenever the aperture or zoom is adjusted. A glance at peaking takes a second; a magnified check takes ten.
On a multi-camera job, assign one person to call focus checks at agreed moments rather than leaving each operator to remember. This is less about distrust and more about rhythm. A short spoken cue such as focus check, all cameras costs nothing and catches the drift that nobody noticed. In these cooler autumn weeks, equipment moved between a warm car and a cold hall is a common cause, so allow it time to settle.
Write down what you settled on
A focus routine is only repeatable if it is recorded. After the check, note the peaking colour and level, the aperture, the distance to the subject and any lens offset you found. Keep these notes with the rest of the camera settings so the next person, or you on a different day, can recreate the same conditions.
Short notes beat long ones. A single line per camera is enough: Camera B, peaking red low, aperture f/4, subject at two metres, sharp on the near eye. That line takes half a minute to write and can save a reshoot. It also feeds directly into the handover notes the whole team uses at the end of a project.
- Record peaking colour and sensitivity
- Record aperture and subject distance
- Record any offset found with the test target
Reliable focus is a habit, not a talent. Set peaking so it tells the truth, confirm with magnification, test against a target when the stakes are high, and repeat the check whenever conditions change. Write the result down so anyone on the team can reproduce it. Done in this order, the routine takes only a few minutes per camera and replaces hopeful guessing with a clear, checkable answer before the first take.
You may also like
Focus Peaking Explained: What the Coloured Edges Really Tell You
Focus peaking paints coloured edges on whatever is sharp. Daniel Brandt explains in plain words what it measures, where it misleads, and how to pair it with magnification.
Two Camera Models, One Skin Tone: Dana's Studio Case
Dana ran two different camera models in her portrait studio and could not get faces to look alike. This case follows how side-by-side comparison brought both cameras into line.
Get in touch
- Call us
- (402) 734-1110
- hello@starvixel.com