Two Camera Models, One Skin Tone: Dana's Studio Case
Dana ran two different camera models in her portrait studio and could not get faces to look alike. This case follows how side-by-side comparison brought both cameras into line.
Priya Natarajan · · 6 min read
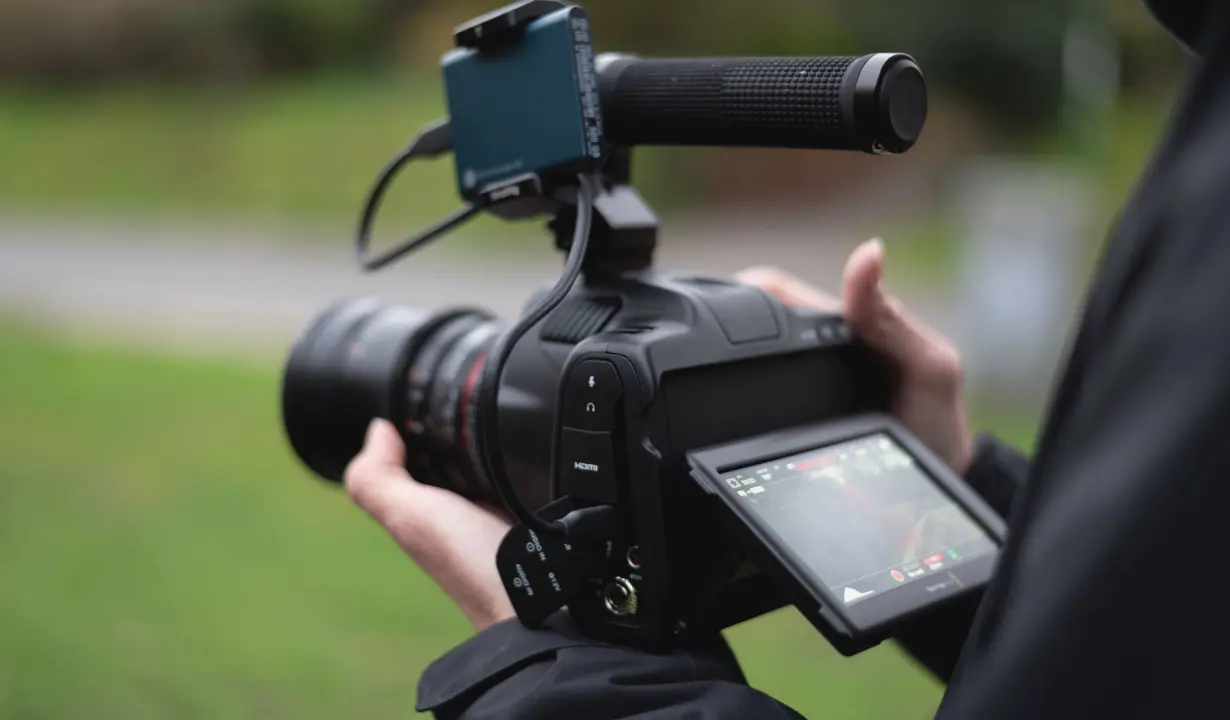
A studio with two cameras that disagreed
Dana runs a small portrait studio and records short interview clips for her clients on the side. She wrote to us in mid autumn after a run of sessions where her two cameras produced faces that did not belong together. One body was a few years old, the other newer, and she had bought them for different reasons at different times.
In the same clip, a client's skin looked slightly warm on the first camera and a little pale and green on the second. Cutting between them made the person seem to change between sentences. Dana had already tried adjusting each image by eye in editing, but every session needed a fresh round of corrections, and she could never be sure the result would hold on the next shoot.
She asked whether the problem was her lighting, her settings or the cameras themselves. That question is a good starting point, because the answer is usually a mix of all three, and sorting out which part belongs to which is the work.
Starting with a shared reference
Before touching any menu, we asked Dana to shoot the same scene with both cameras under the same light, with a grey card and a simple colour chart held beside a volunteer. The point was to remove guesswork: if both cameras see the same card and the same face, any difference is the camera's, not the room's.
Dana set a custom white balance from the card on each body and recorded a short clip of the volunteer from the same distance. She noted the lens, the aperture and the picture profile on each camera. It took about twenty minutes, and she said it was the first time she had written those settings down side by side.
Those notes became the backbone of the session. Without them, any later change could not be traced, and the comparison would have been a matter of opinion rather than something she could repeat.
- Same light, same position, same subject for both cameras
- Grey card and colour chart in frame for every test clip
- Lens, aperture and picture profile written down per camera
Reading the two clips side by side
In the test session we placed both clips next to each other on one screen and looked at them together. The difference was now easy to name. The older camera leaned warm in the midtones and held a little more contrast, while the newer one sat cooler and flatter, which is why faces split in two directions.
Priya, who runs these sessions, asked Dana to look first at the grey card, then at the skin, then at the shadow side of the face. This order matters. If the neutral card matches but skin does not, the issue sits in the picture profile or saturation rather than in white balance, and you stop chasing the wrong setting.
We also checked exposure on both with the same histogram view, since a face that is half a stop brighter will read as a different tone even when the colour is correct. Dana's two cameras were about a third of a stop apart, which explained part of what she saw.
Bringing contrast and skin tone into line
The adjustments were small and deliberate. Dana changed the picture profile on the newer body to a closer relative of the older one, lowered contrast slightly on the warmer camera, and nudged the newer camera's white balance by a small step toward warm. After each change she recorded another short clip of the volunteer and compared it with the previous one.
After four rounds the two clips cut together without a visible jump. Skin sat in the same range, shadows had a similar depth, and the grey card read neutral on both. She did not chase a perfect match, which is rarely possible between different sensors. She aimed for a match close enough that light correction in editing would finish the job.
The important habit was changing one thing at a time. When two settings move at once, you cannot tell which one helped, and the next session starts from confusion again.
- Change one setting per round and record a fresh test clip
- Judge the grey card first, then skin, then shadows
- Accept a close match; finish the last step in editing
What Dana wrote down before leaving
The last part of the session was a handover note. Dana listed each camera, its lens, picture profile, white balance method, shutter and the small offsets we had arrived at. She added a line about where to hold the grey card and which clip to record first at the start of every shoot.
This is what makes the result repeatable. A match that lives only in someone's memory fades the moment a battery is swapped or a setting is reset. A one-page note lets a second operator, or Dana herself on a tired morning, rebuild the same look in a few minutes.
She also added the recording requirements for her usual jobs, such as frame rate and delivery format, so that the colour settings and the technical settings sit together in one document rather than in two places.
What stayed open afterwards
Not everything was solved, and it is fair to say so. Under mixed light, such as a window next to a warm lamp, the two cameras still drift apart a little, because each handles unusual colour differently. Dana now repeats the grey card check whenever the lighting changes instead of trusting the saved settings.
She also learned that her older camera ages differently from her newer one in low light, so very dim rooms still need an extra look. Neither of these is a failure of the match. They are known limits, and knowing them in advance is better than finding them in the middle of a client session.
A month later she mentioned that her editing time on multi-camera clips had dropped noticeably, mainly because she no longer corrected faces clip by clip. That is a modest, realistic outcome, and it is the kind we hope for.
Dana's case shows that matching cameras is less about a clever trick and more about a calm routine: shoot the same reference, compare side by side, change one setting at a time and write the result down. Different camera models will never be identical, but they can be close enough to cut together without a jump in skin tone, and that closeness holds only when the steps are recorded.
You may also like
What a Setup Review and Test Session Cost, and Why
A plain breakdown of what drives the price of a setup review, a test session and written handover notes, so a small studio can plan its budget before booking anything.
How a Portrait Exposure Is Set and Kept Steady From Shot to Shot
A look behind the scenes at how we read histograms and waveforms, fix exposure and hold portrait lighting steady across a whole session, from the first test frame to the last.
What Actually Happens in a Setup Review and Test Session?
The question we hear most is what a review, a test session and handover notes involve from start to finish. Here is a plain account of each step and what you bring.
Get in touch
- Call us
- (402) 734-1110
- hello@starvixel.com